
How Long Does a Tank Installation Take? Here’s What to Expect
If you're considering installing a water tank on your property, you might be wondering: How long does it take? What steps are involved? And when can you expect it to be fully up and running?
The good news is that most tank installations are relatively fast and straightforward—usually completed within 4-5 weeks from the time your deposit is paid. Let's walk through the full process, including what factors affect the schedule and a detailed breakdown of what actually happens during the installation.
From Deposit to Installation
This time frame includes both the planning and the physical installation. The main causes for any delay are usually related to:
Installer availability (especially during busy seasons)
Scheduling for foundation work, if our team is handling that for you
Once everything is lined up, the installation itself moves quickly.
Step-by-Step Installation Process
Here’s a breakdown of the key steps involved in a typical tank installation. This is the same process we follow for most of our standard water tanks.
1. Determine the Location of the Tank
The first—and arguably most important—step is selecting the right location on your property. We work with you to identify an area that is:
Accessibility for our equipment and a firetruck (if the tank is for fire protection)
Clear of underground utilities
Level or easily leveled ground
Positioned to optimize water flow or storage efficiency
If using the tank for rainwater harvesting
Location should have a minimum of 24" clearance from the bottom of the gutters to the top of the tank
This step also includes site preparation, such as clearing brush or debris if needed.
2. Create a Level Sand Foundation
Once the location is selected, we build sand, concrete, and ring-beam foundations. Either of these options is critical for the structural stability of the tank. The sand should be 6" deep, and the pad diameter should be at least 3' wider than the tank diameter to give installers room to work safely.
Time required: 1–2 days, depending on soil conditions and accessibility
We typically bring in and compact a fine, clean sand layer to form a level and supportive pad for the tank. Our team will grade the ground to a near-perfect level before placing the sand.
If we’re not doing your foundation, you’ll need to have it completed before our installers arrive.
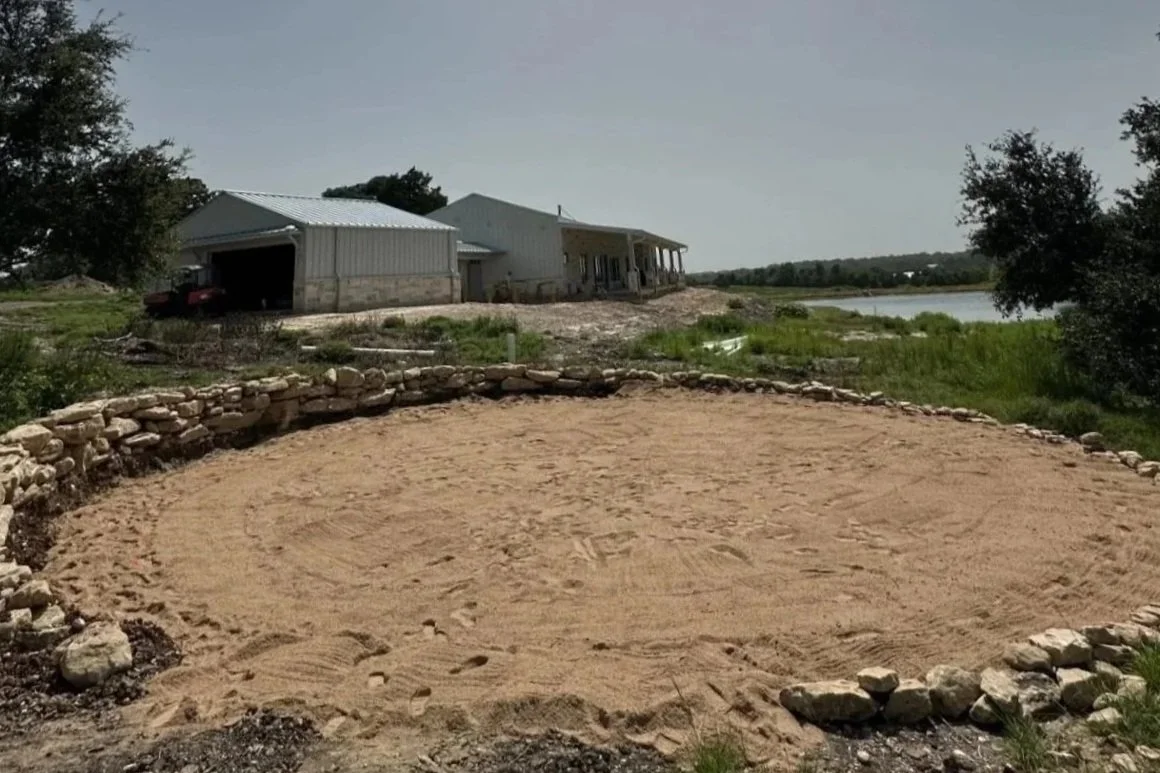
Leveling the foundation (sand)
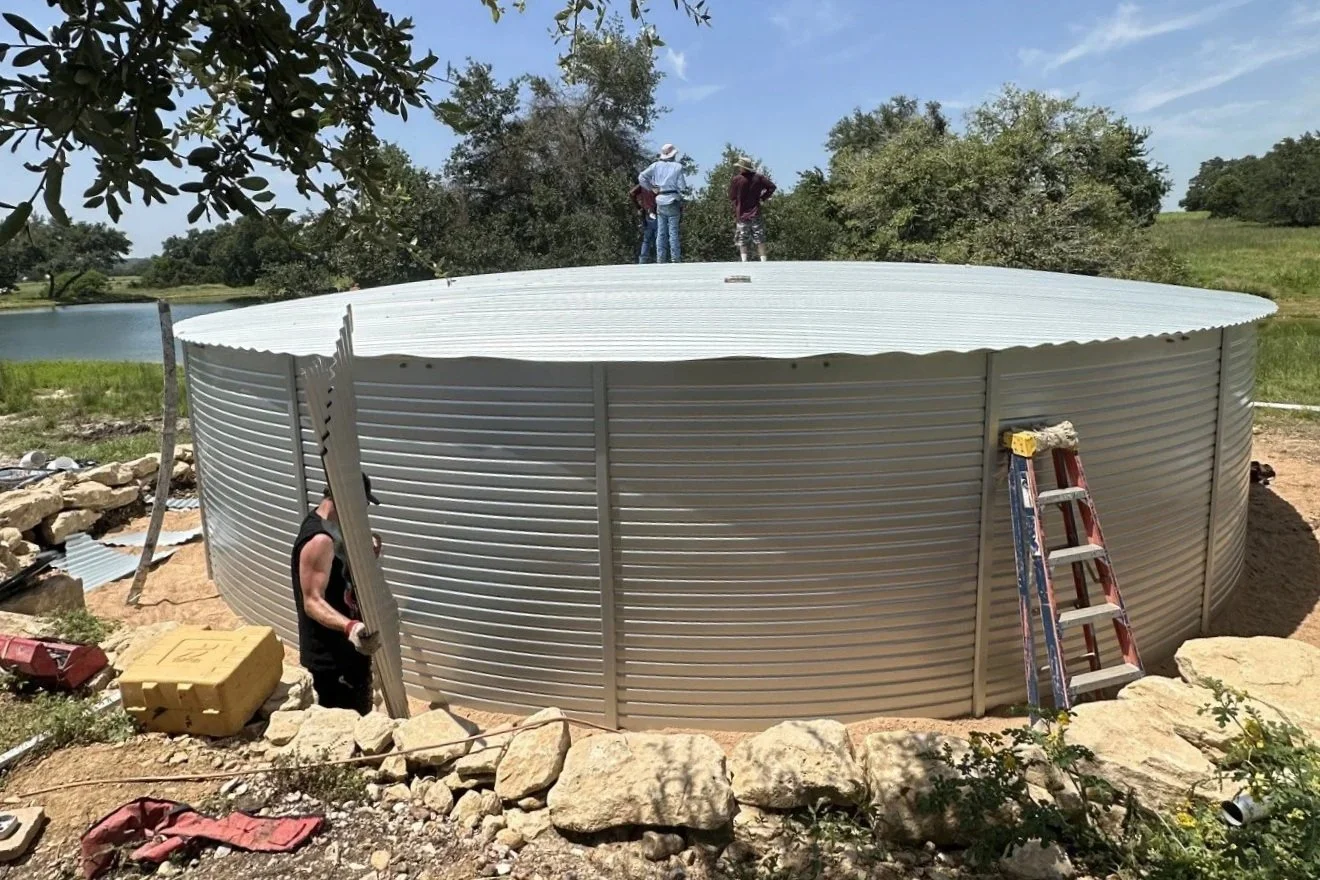
3. Build the Tank
After the foundation is ready, we move into the actual tank construction. Believe it or not, the entire tank can often be built in just one day, thanks to our streamlined process and experienced crews.
A note, please don’t forget to add water to your tank before installation as ballast – this prevents shifting in high winds.
Here’s how it’s done:
- Start with the Sidewalls
We begin by assembling the outer wall panels. These are usually galvanized steel or another corrosion-resistant material, bolted together to form the circular shell of the tank.
- Add the Trusses
Next, we install the internal trusses that support the roof. This helps the structure maintain its integrity under wind and weather stress.
- Complete the Roof
Once the trusses are up, the roof panels go on. Depending on the tank model, this may include a vent or access hatch.
- Add Felt Inside the Tank
Before installing the liner, we place a felt underlay along the interior walls and floor. This protects the liner from friction and punctures over time.
- Hang the Liner
The liner is one of the most critical components—it holds the water and ensures leak-free performance. We carefully hang and fit the liner inside the tank, making sure it’s properly aligned and secured.
- Install Fittings
Finally, we install the fittings such as outlets, inlets, filter basket(s), overflow ports, and any accessories like level gauges or ladders. This completes the build.
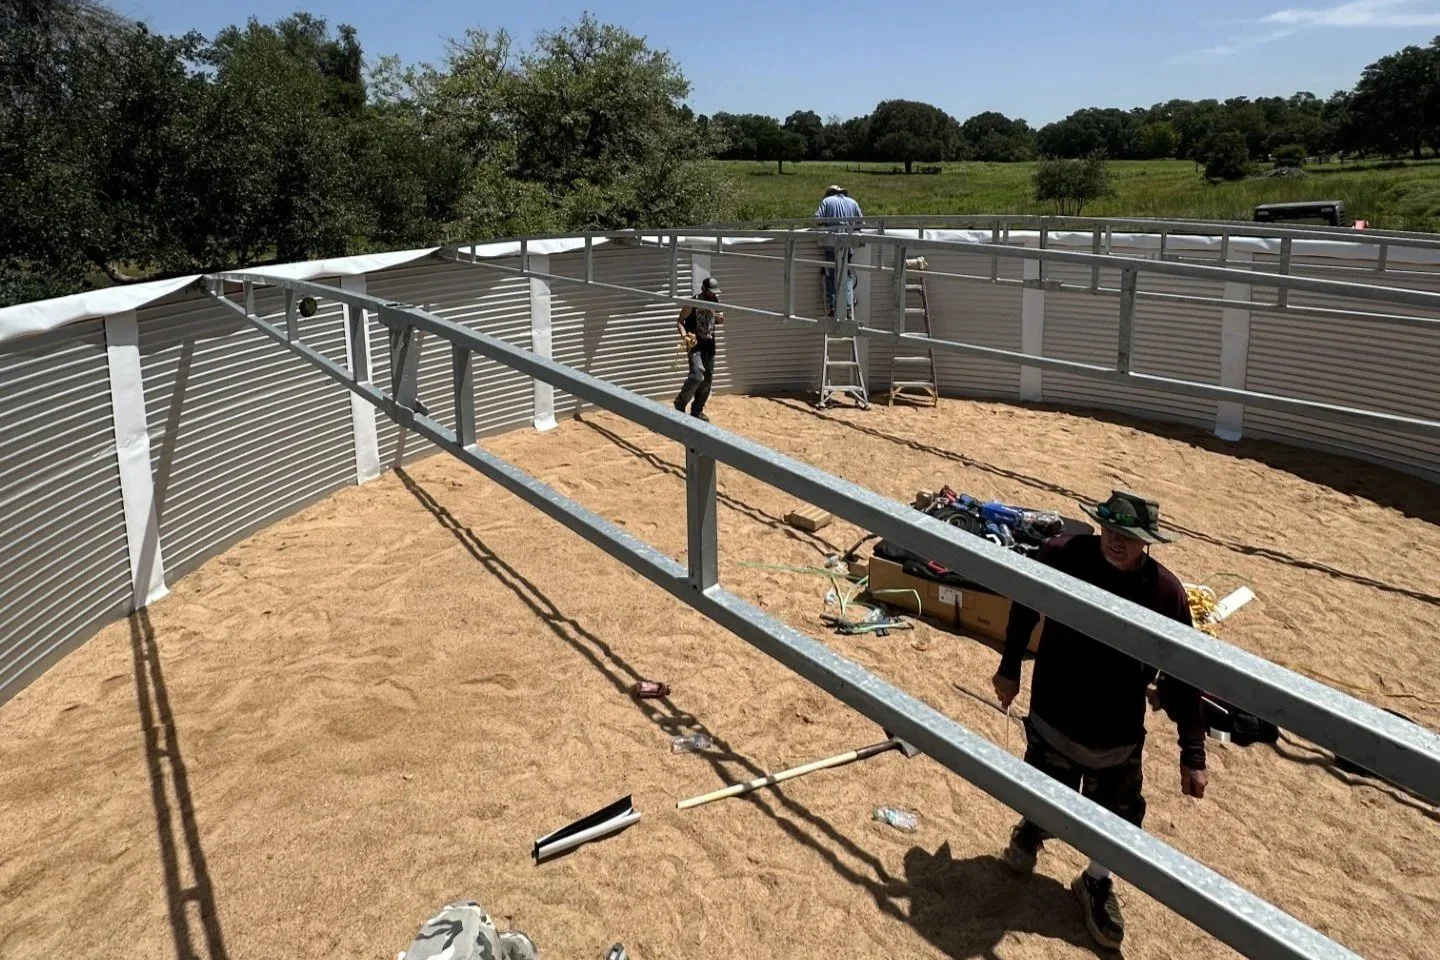
Adding the Trusses
What Affects Installation Time?
Although the tank can be built quickly, there are a few things that may impact your total installation time:
Installer schedule: We’ll coordinate with you to find the next available slot, which may vary depending on location and season.
Foundation work: If ground conditions are challenging (e.g., rocky soil, sloped terrain), prepping the foundation may take extra time.
Weather: In rare cases, extreme weather conditions may delay certain steps.
Finishing Touches
Contact us at (877) 652-5682 or Email admin@lakotatankcompany.com for a quote or site consultation today.